Specialty test guide · verified October 2, 2026
Lead paint: a $15 swab before the sander
Lead paint doesn't poison houses — renovations do. The paint sat harmlessly under newer coats for decades; then someone dry-sands a window frame and the dust settles everywhere a toddler's hands go. Health Canada's era guidance is clear — pre-1960 homes probably have it, 1960–1990 possibly — and the response is cheap: swab-test any surface you're about to disturb, and work wet if it lights up.
Pre-1960
Probably present
1960–1990
Possibly present
Swab kits
$15–$40
Most at risk
Kids under 6, pregnancy
Test-and-work sequence
-
List what the project will disturb
Window sashes and trim, baseboards, doors and jambs, stair parts, walls being opened — in energy retrofits, window replacement and trim removal are exactly where lead work hides.
-
Swab every layer, not just the top coat
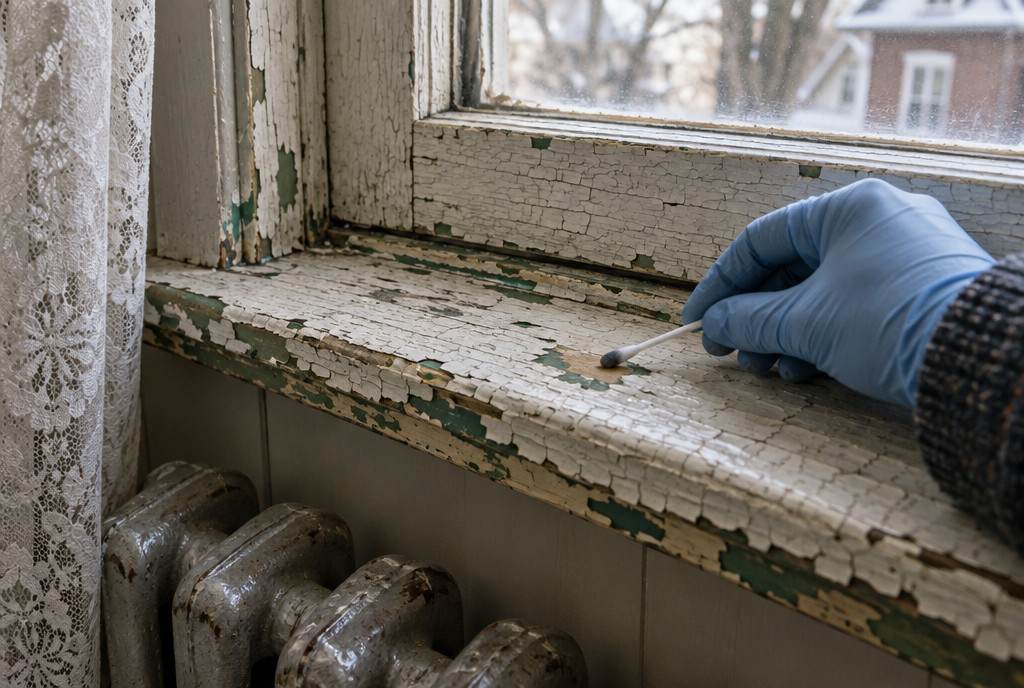
Score a small notch through all paint layers and swab the exposed edge — lead is usually buried under decades of repainting. Test each distinct surface type; a clean wall says nothing about the window beside it.
-
Confirm when stakes are high
Kids under 6 or a pregnancy in the house, or a whole-floor renovation? Confirm swab results with lab chip analysis or an XRF survey from an environmental testing firm before committing to a work method.
-
Positive? Choose: leave, cover, or remove lead-safe
Intact and out of reach: leave it or encapsulate (paint over, cap with wallboard). Must remove: wet methods and chemical strippers — never dry sanding, heat guns, or blowlamps — with plastic containment, and children and anyone pregnant out of the work area.
-
Clean like it counts
HEPA vacuum, then wet-wipe every horizontal surface, then HEPA again. Bag waste. Wash work clothes separately. The cleanup is half the job — lead dust you can't see is the entire hazard.
Lead and your retrofit
The upgrades that trigger lead precautions are the ones our planner recommends for older homes anyway: window and door replacement, air-sealing around trim, opening walls for insulation. None of them become forbidden — they become wet-method, contained jobs. Budget a few hundred dollars of extra labour and materials for lead-safe practice on a pre-1960 window job, not thousands; the swab tells you whether you need to.
How to read your result
What the number is: Lead in paint, by XRF reading (mg/cm²), lab analysis (% by weight), or the home's age.Unit: mg/cm² (XRF) · % by weight (lab)
- Built after 1990Home and paint from 1991 or later
What it means: Canadian and US consumer paints were virtually lead-free by then, so lead paint is unlikely.
What to do: No lead-specific precautions needed for paint from this era.
- Built 1960–1990Home built from 1960 to 1990
What it means: Exterior paint may contain lead; interior paint may have smaller amounts that can still harm children.
What to do: Test before sanding or scraping (lab paint-chip test or XRF), or treat it as lead paint.
- Pre-1960 or lead foundBuilt before 1960, or a test shows lead
What it means: Probably lead-based paint; dangerous when it chips, flakes or is disturbed, especially for children and during pregnancy.
What to do: Leave intact paint alone or cover it; never sand, heat-gun or torch it; consider an expert for removal.
Health Canada: to find out, send paint chips to a lab or hire a contractor with x-ray (XRF) equipment. If removing, keep children and pregnant women away and use a chemical stripper, not heat.
Common questions
My house is from the 1970s. Do I really need to test?
Health Canada's framing: before 1960, lead paint is probable; from 1960 to 1990, possible — exteriors especially, interiors in smaller amounts. Canadian consumer paint was virtually lead-free by 1990. So for a 1970s house the honest answer is "test the surfaces you're about to disturb" — a $15–$40 swab kit before a window or trim project is cheap certainty either way.
Is intact lead paint dangerous?
Intact, well-adhered paint out of children's reach is low-risk, and Health Canada's first recommendation is often to leave it alone or cover it — paint over it, or cap it with wallboard. The exposure problem is dust: sanding, scraping, heat guns, deteriorating and chalking surfaces, and friction edges like painted window sashes that grind dust every time they slide.
How do swab tests work, and can I trust them?
Rhodizonate or sulfide swabs change colour on contact with lead — rub the swab on a notched edge that exposes every paint layer, since lead often hides under newer coats. They're a good screen: a positive is worth believing; a negative on a high-stakes job (big renovation, kids in the house) is worth confirming with a lab chip test or an XRF scan by an environmental testing firm.
What does lead-safe renovation actually look like?
Wet methods and containment: mist surfaces before disturbing, hand-scrape or use chemical strippers rather than dry-sanding, never use heat guns or blowlamps on old paint, seal the work area with plastic, keep children and anyone pregnant away, and clean with a HEPA vacuum and wet wipes — a shop vac just redistributes the dust. For big jobs, hire a contractor who works lead-safe and says so in the quote.
Sources
Renovating an older home?
Tell us the era and the project — we'll match you with an advisor who sequences the hazard checks before the retrofit work.